An 101 introduction to Laravel Vapor
After Taylor Otwell announced Laravel Vapor, we all waited for the first invitations. I was lucky to be there right from the start. In this post, I would like to give you a little overview of what Vapor feels like and what I think about it.
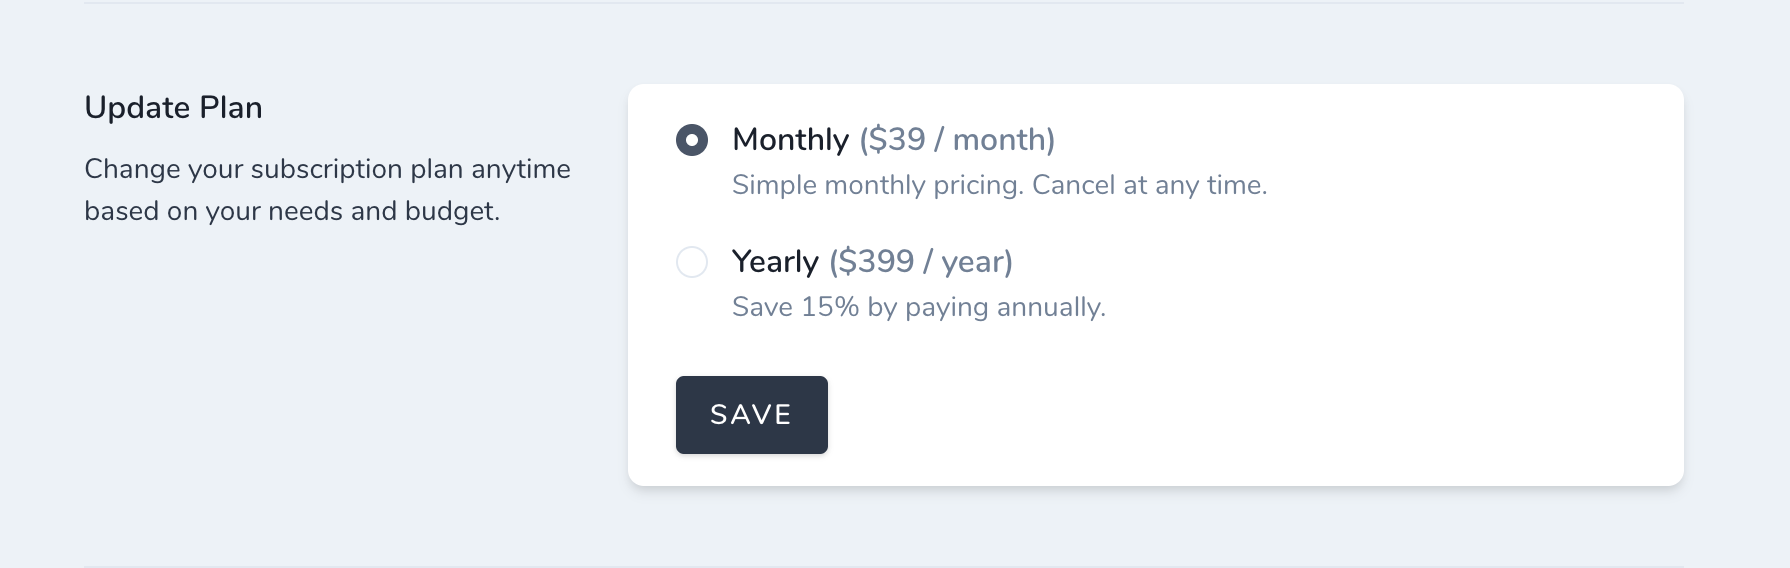
Choose a plan
After you have registered, you will be directed to a very tidy and clean UI. First, you are asked to choose a plan. I'm not sure if I can use Vapor later under my circumstances, but I want to support Taylor at this point for all the great stuff he builds. That's why I chose the $399 plan.
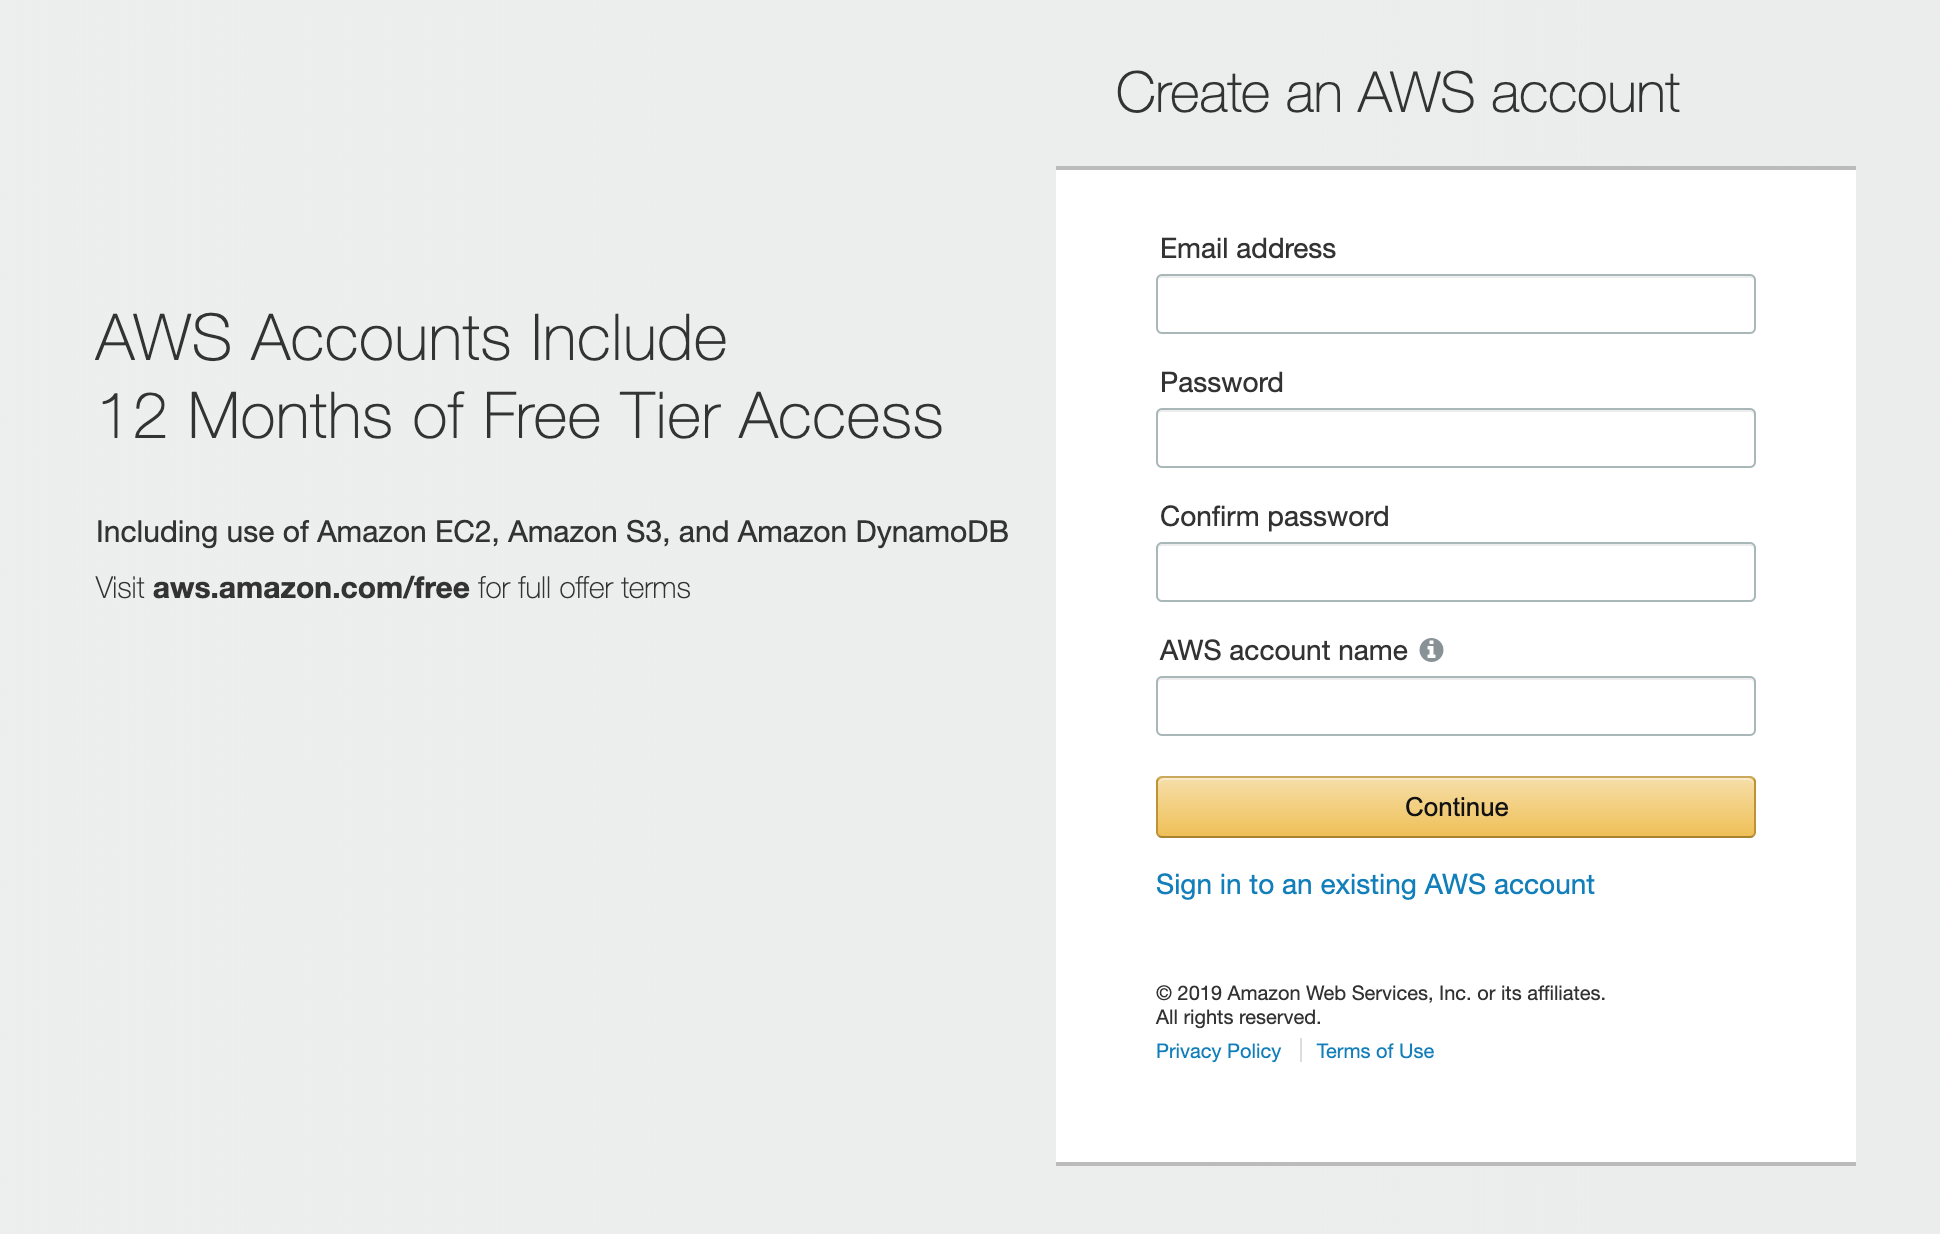
Set up Amazon AWS
As soon as this is done, it is necessary to store the AWS access data. In my case, I created a new AWS account for testing purposes. This is really quite simple. Head over to https://portal.aws.amazon.com/billing/signup#/start and start filling out the form and run through the sign-up process.
Create a dedicated Vapor user
Once the AWS account is created, you need to create a dedicated "Vapor" user so that Vapor is able to administer all services. To do this, visit the IAM users or use the URL https://console.aws.amazon.com/iam/home?#/users. Then click Users on the left sidebar. After that click Add and see what I've done.
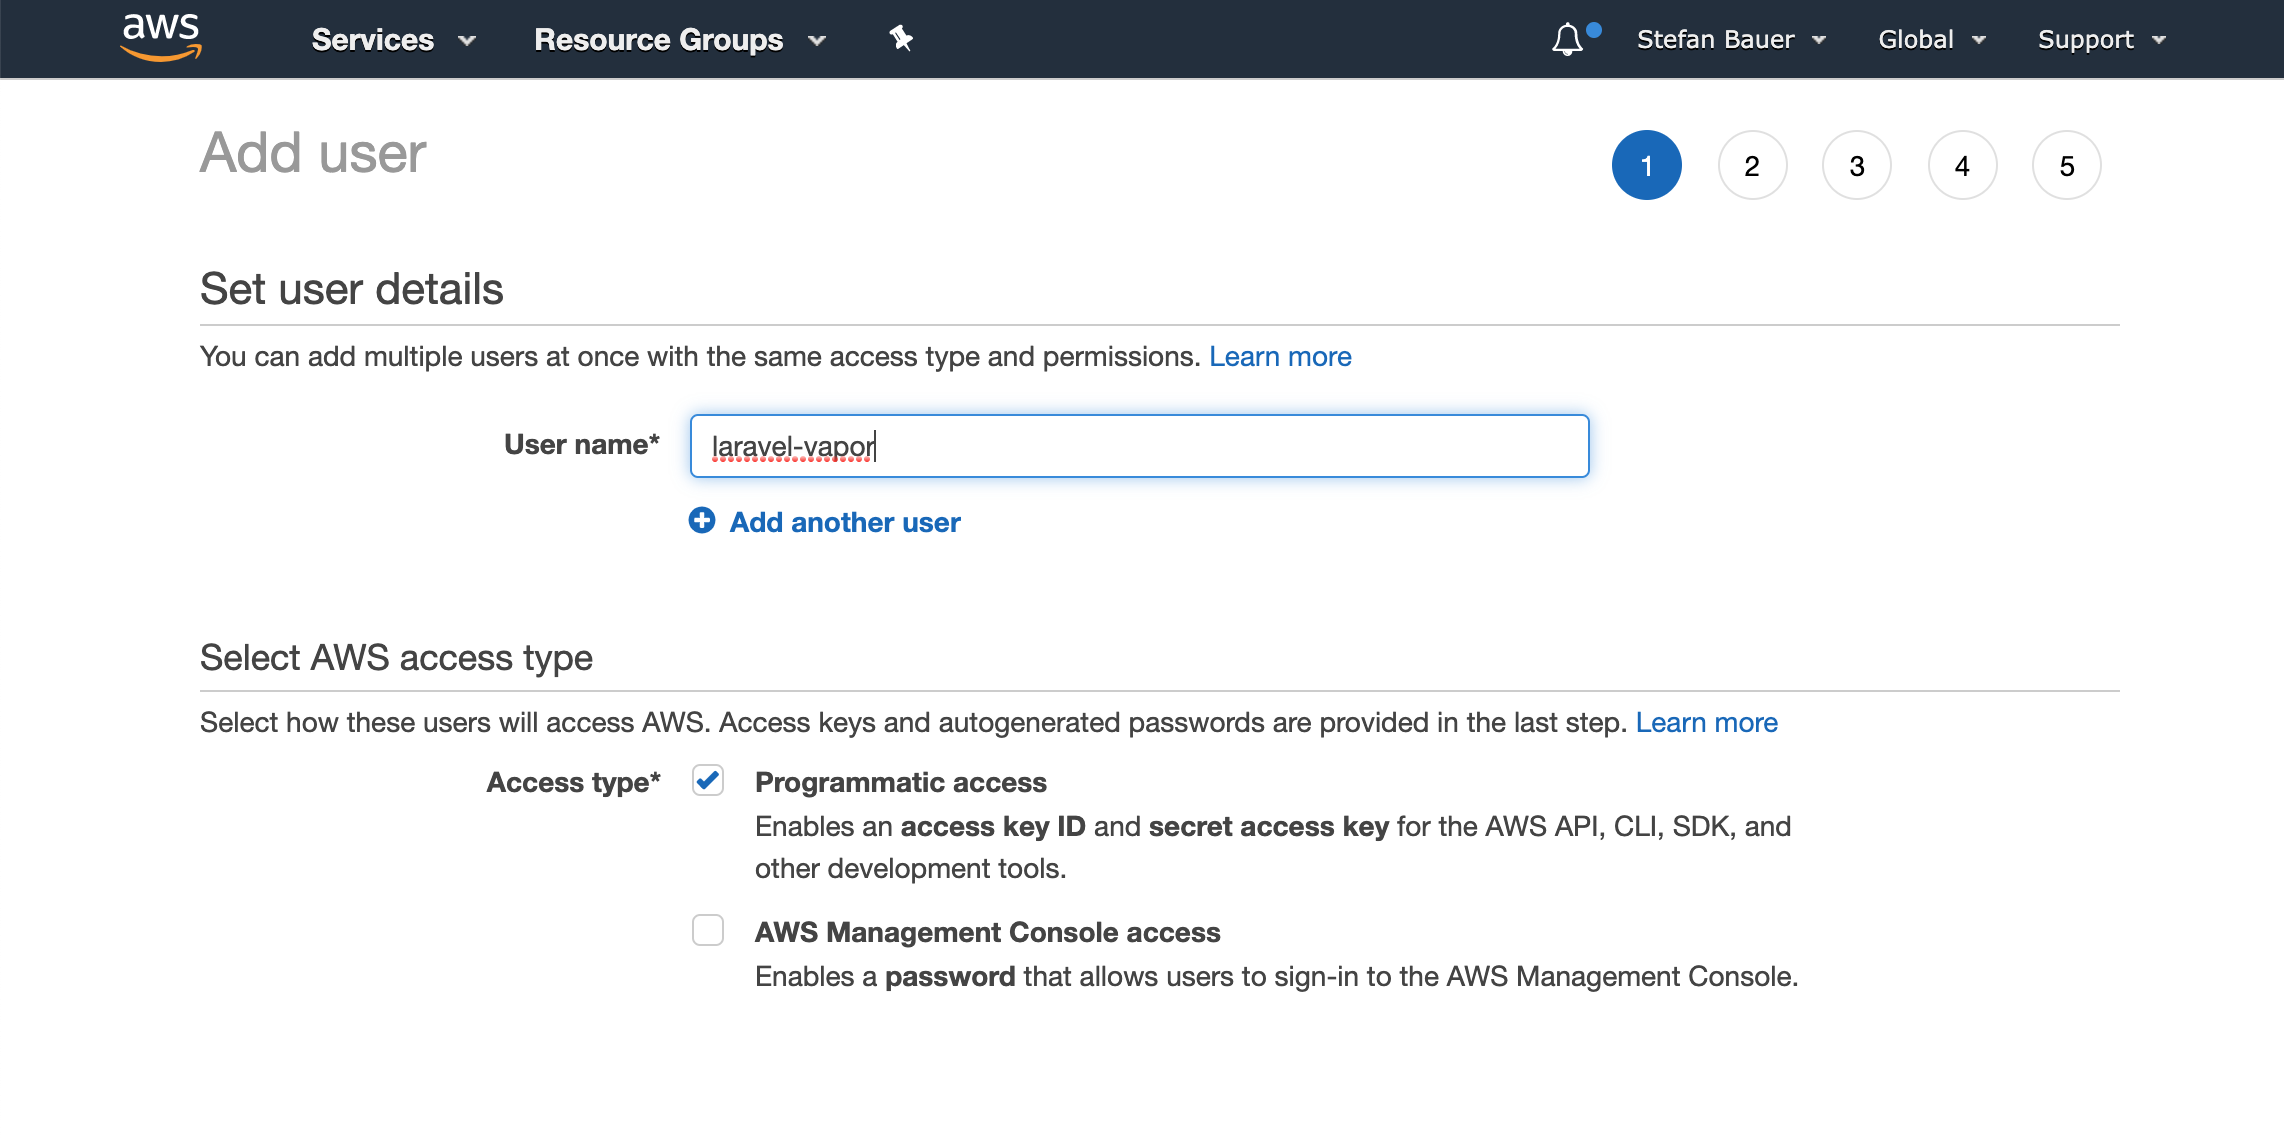
I decided to call that user "laravel-vapor". It's important to check "Programmatic access". Then click continue.
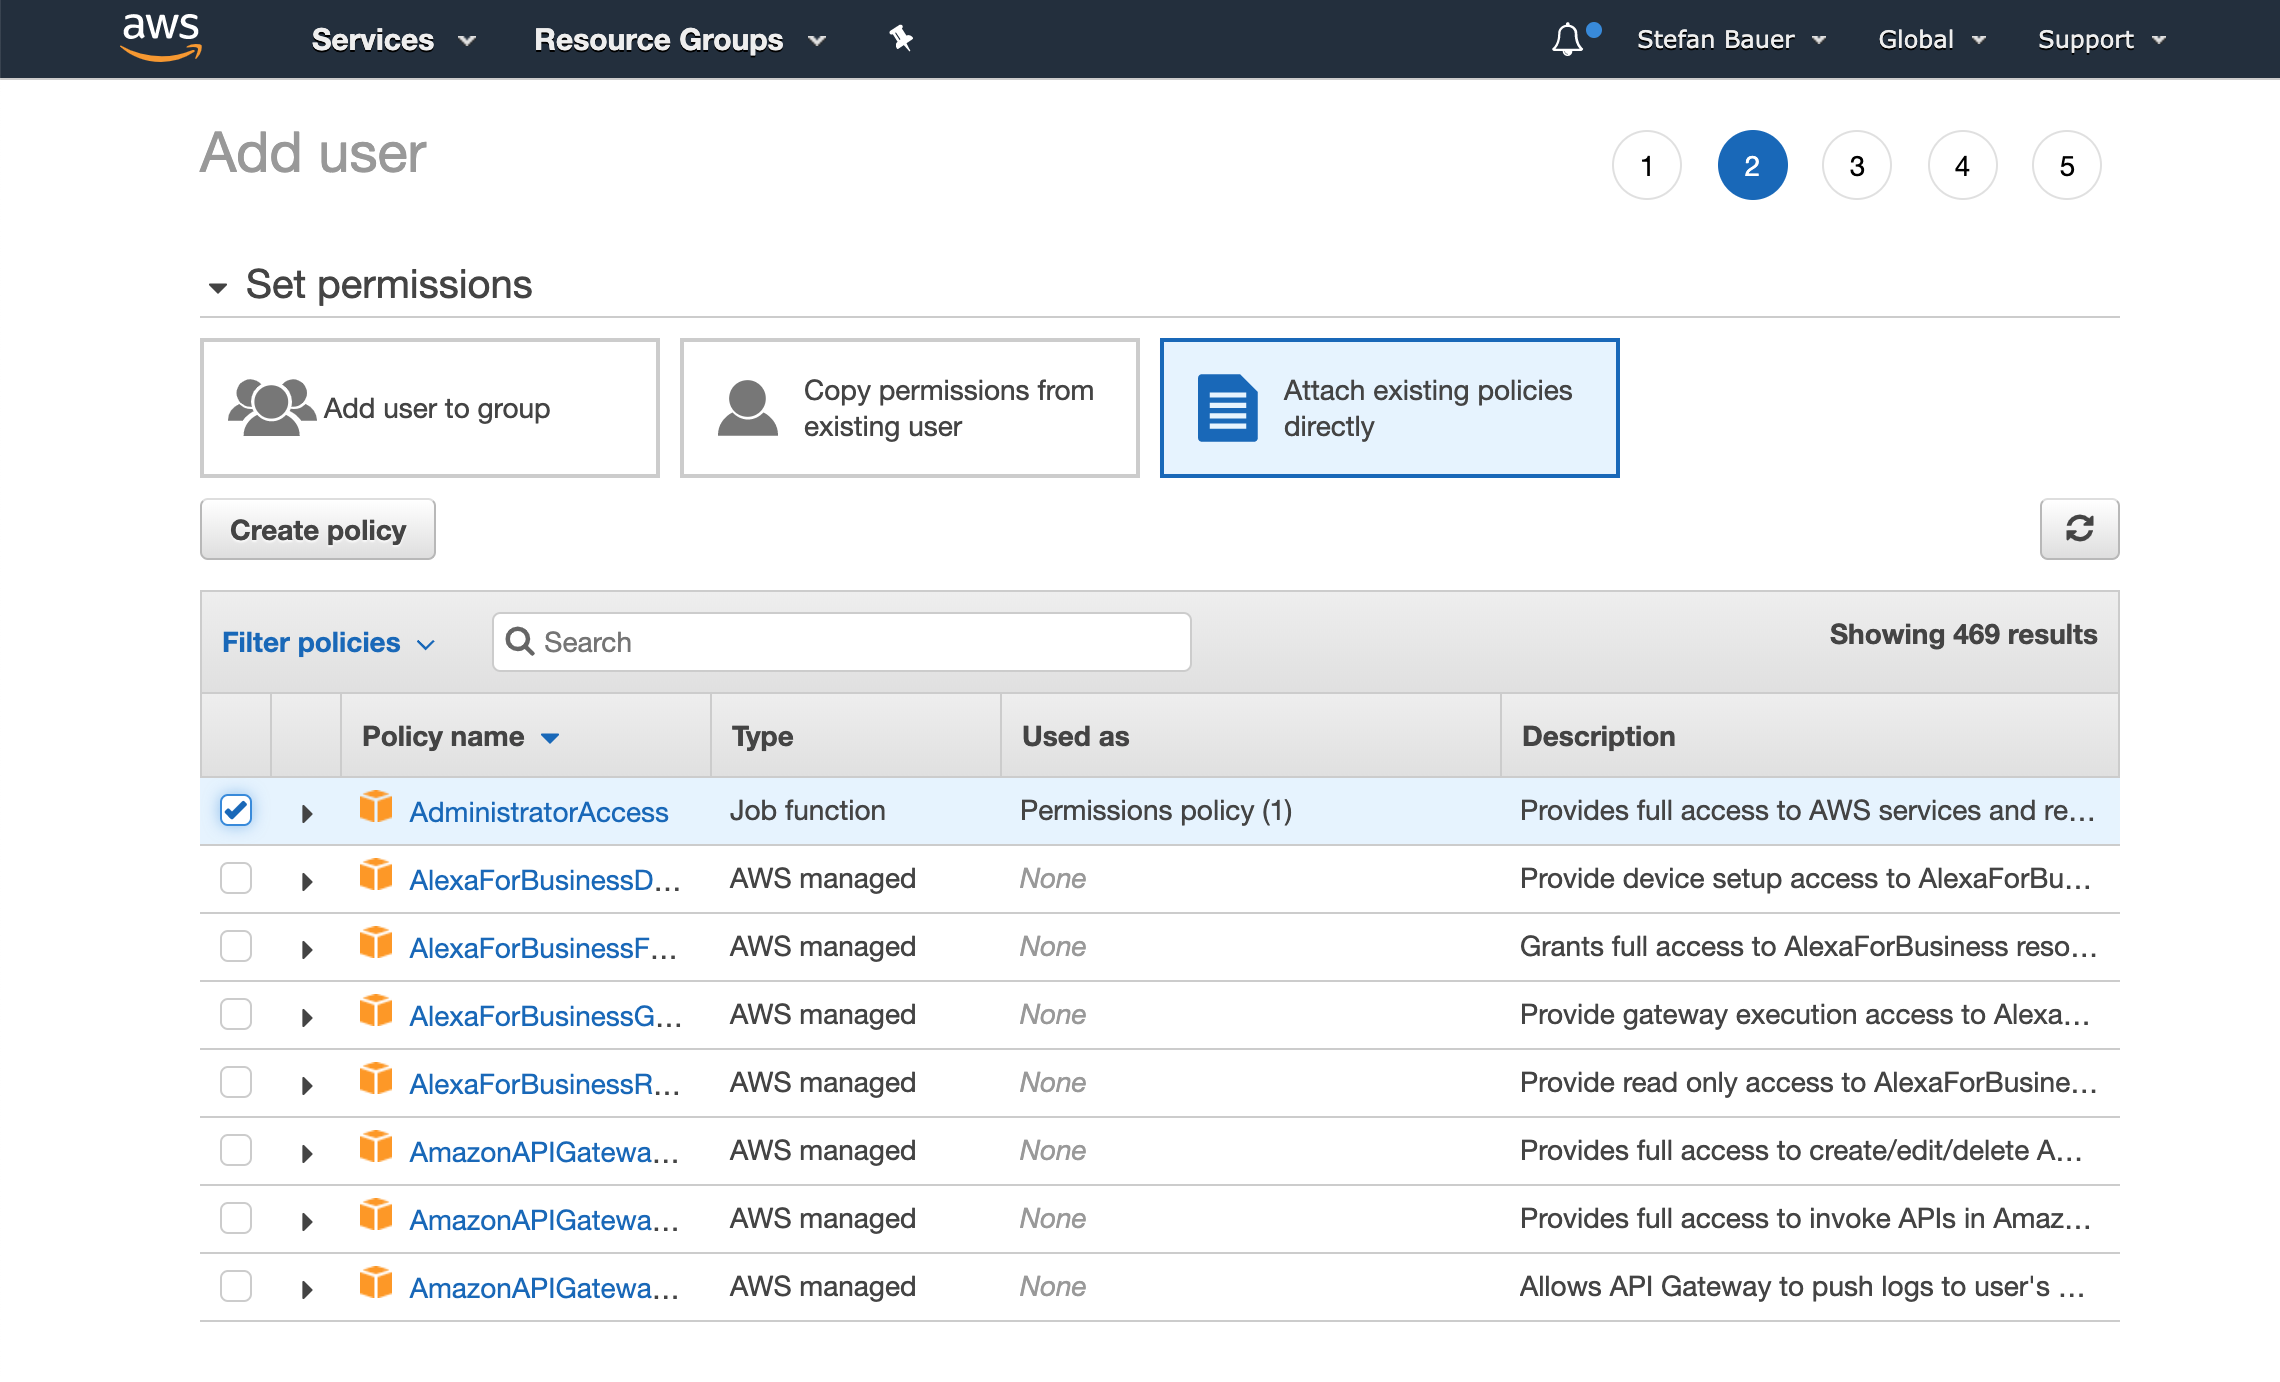
Now it's time to set the permissions. Click on "Attach existing policies directly". Then check the "AdministratorAccess". Vapor needs full access to configure all the necessary services. On the next step you can define Tags. You can skip that for now. Continue until everything is done. You should end up with something like this.
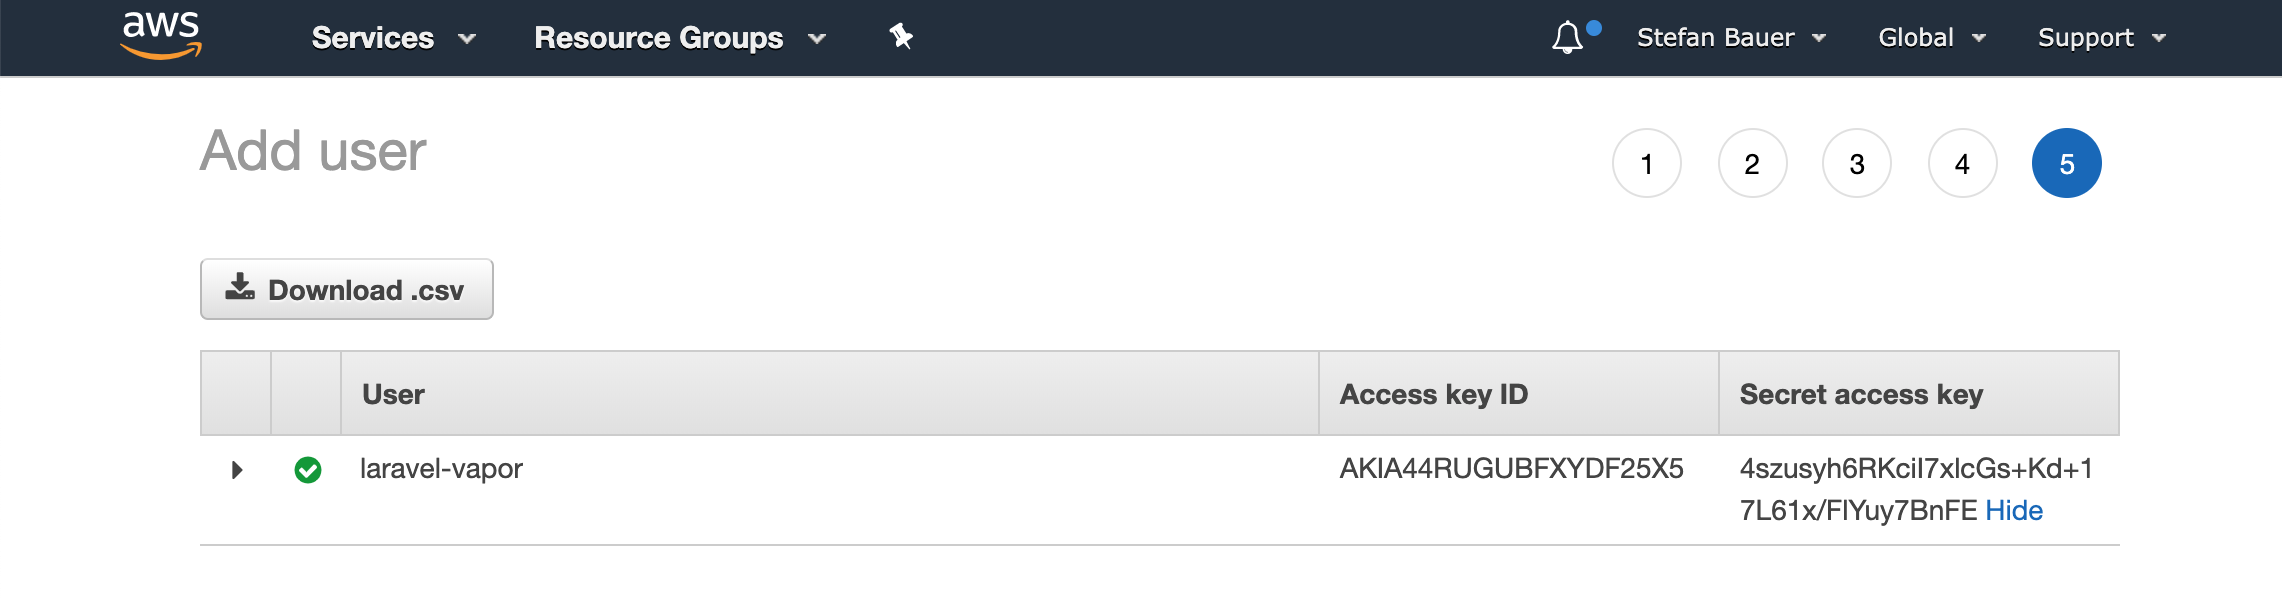
Write down or save your Access Key and your Secret Access Key. This is a really important step because the Secret Access Key will never be shown again. Head back to Vapor and the AWS settings (https://vapor.laravel.com/app/team/settings/cloud-providers) and enter the data you created some minutes ago.
AWS setup is done!
Vapor CLI
Now it's time to install the Vapor CLI. I suggest installing it globally via
$ composer global require laravel/vapor-cli
Login on CLI
To login into your Vapor account via the CLI you just have to type
$ vapor login

Email Address:
 > mail@stefanbauer.me


 Password:
 >

Authenticated successfully.
This is a one time action and is only necessary once.
Prepare a project for Vapor
Basically, that's it! Vapor is ready and now it's time to prepare a project which you want to deploy. In my case, I decided to test that with a staging environment for laravelsecrets.com - the book I'm writing with my buddy Bobby Bouwmann.
So I opened the terminal and changed the directory to my project's root. The only thing you've to do now is just to type
$ vapor init

What is the name of this project [laravelsecrets.com]:
 > LaravelSecrets
Amazing! Your project has been initialized.

 Would you like to install the laravel/vapor-core package (yes/no) [yes]:
 >
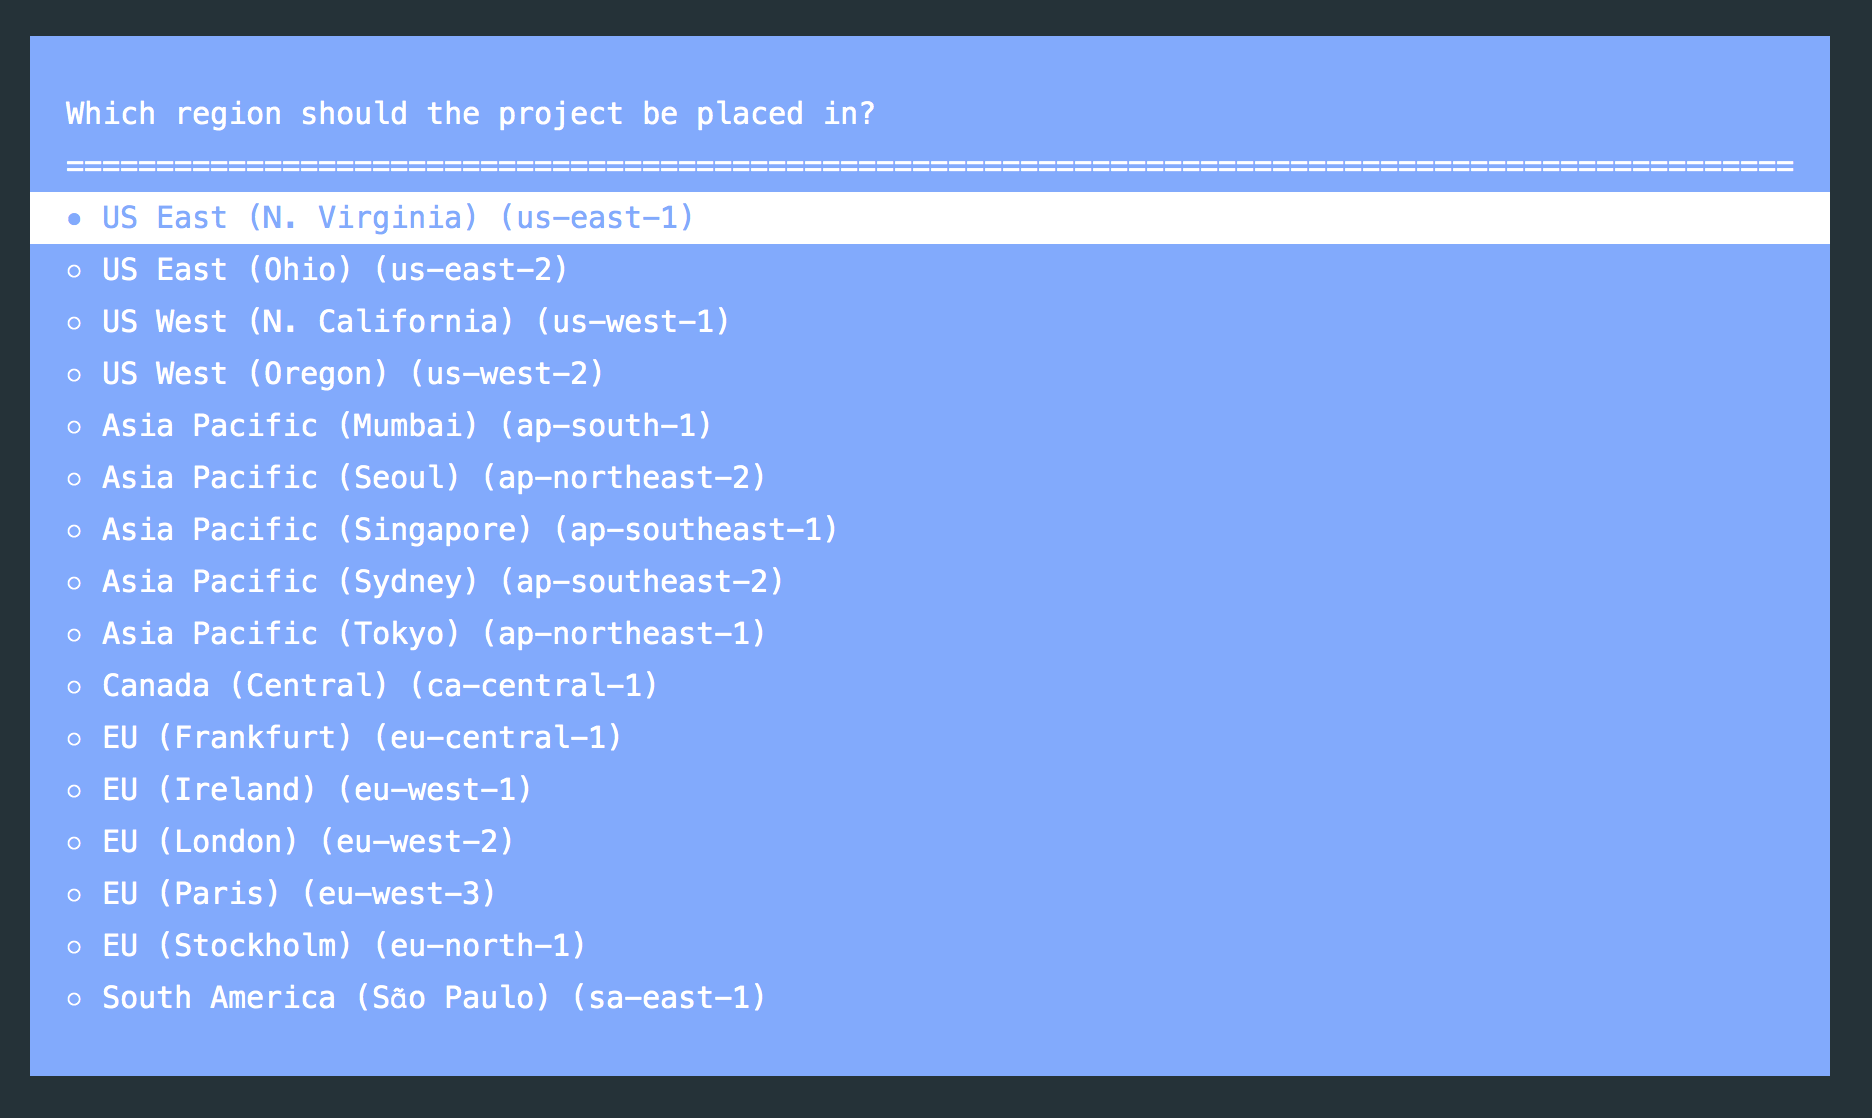
Ensure that you choose yes when Vapor asks you to install the laravel/vapor-core package. You can install this package always by hand too if you like. Oh and Vapor asks you at which region you would like to create that project.
What this vapor init command also does is to create a vapor.yml file. This is where all the configuration happens. I customized it just a little bit.
id: 188
name: laravelsecrets
environments:
    production:
        domain: laravelsecrets.com
        memory: 512
        cli-memory: 128
        build:
            - 'composer install --no-dev --classmap-authoritative'
            - 'php artisan event:cache'
            - 'npm install && npm run prod && rm -rf node_modules'
    staging:
        domain: staging.laravelsecrets.com
        memory: 512
        cli-memory: 128
        build:
            - 'composer install --classmap-authoritative'
            - 'php artisan event:cache'
            - 'npm install && npm run dev && rm -rf node_modules'
I just changed the memory and the cli-memory settings and added the domain keys to both environments. At the upcoming examples, I just use staging.laravelsecrets.com. The rest is the Vapor default configuration. That's it for the project configuration.
Vanity and custom domains
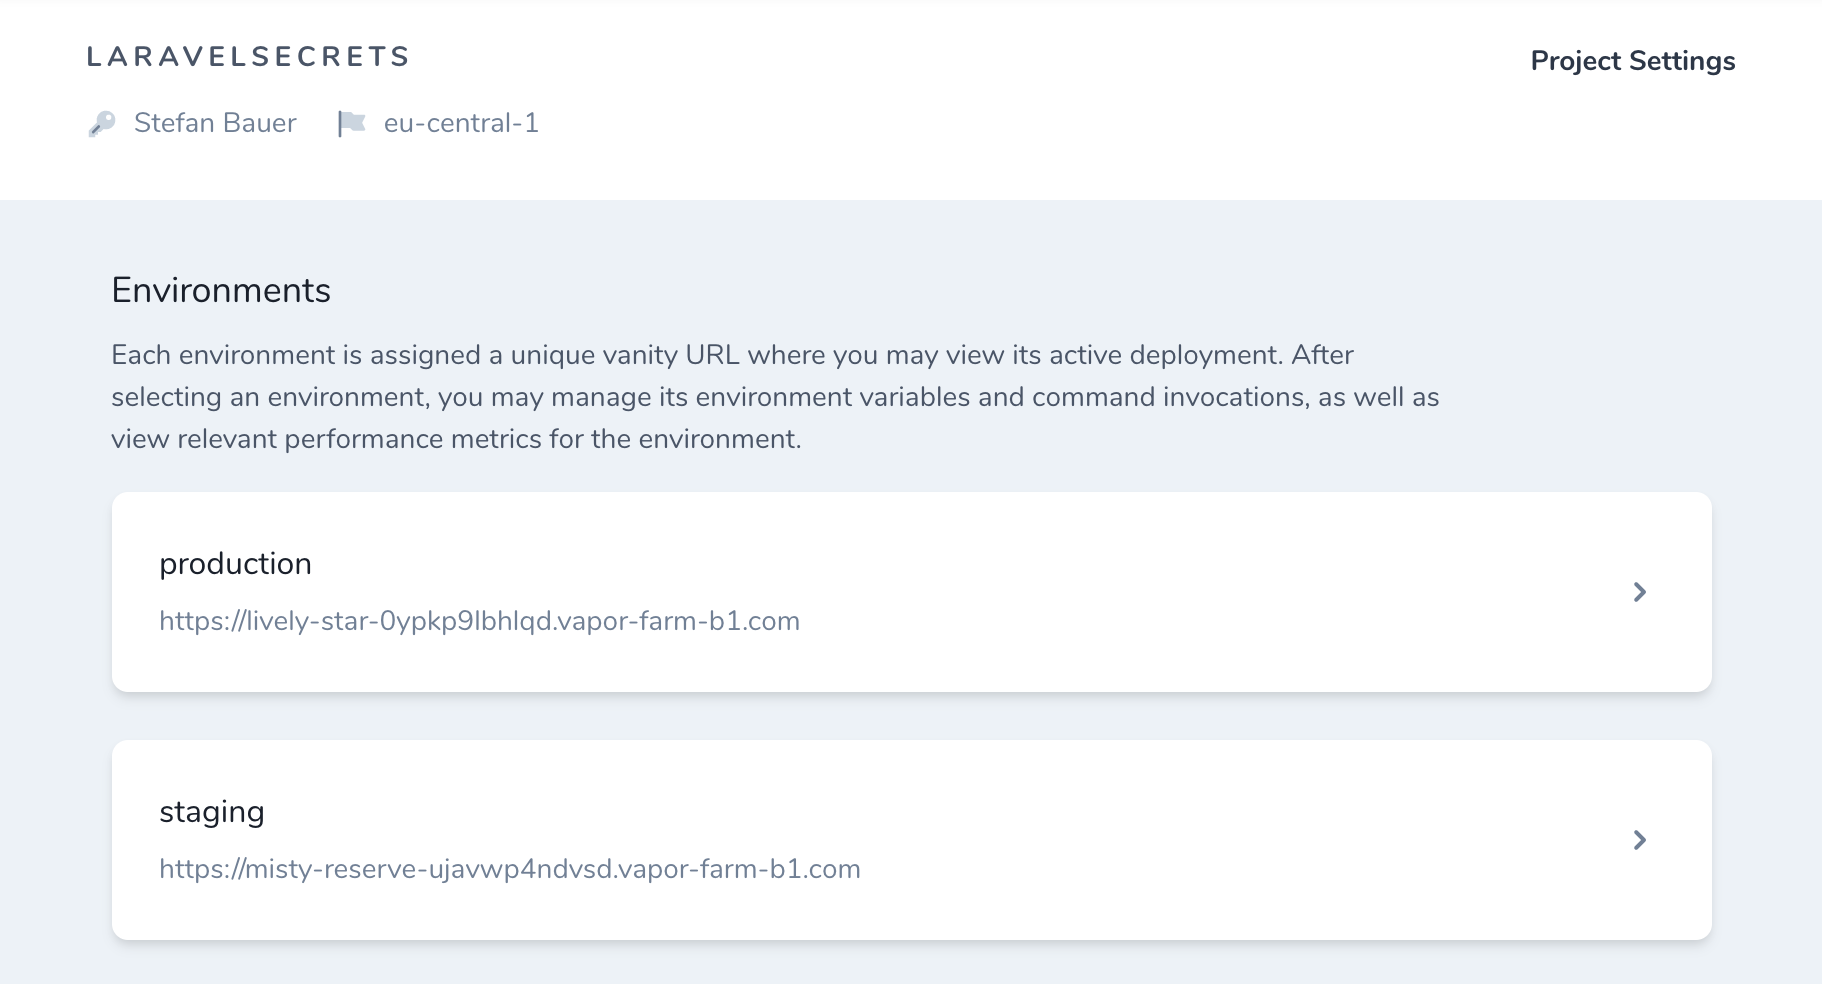
Here you see an overview of the project and all existing environments. Below you can see something that's called "vanity URL". This domain was randomly generated by Vapor. You can access, as soon as you deployed the project (hang on!), each of your environments through that domain. So it's not necessary to use real domains to test different environments. This is really nice!
I wanted to test now if a real domain, in my case staging.laravelsecrets.com, works. For that go to Domains and add a new domain.
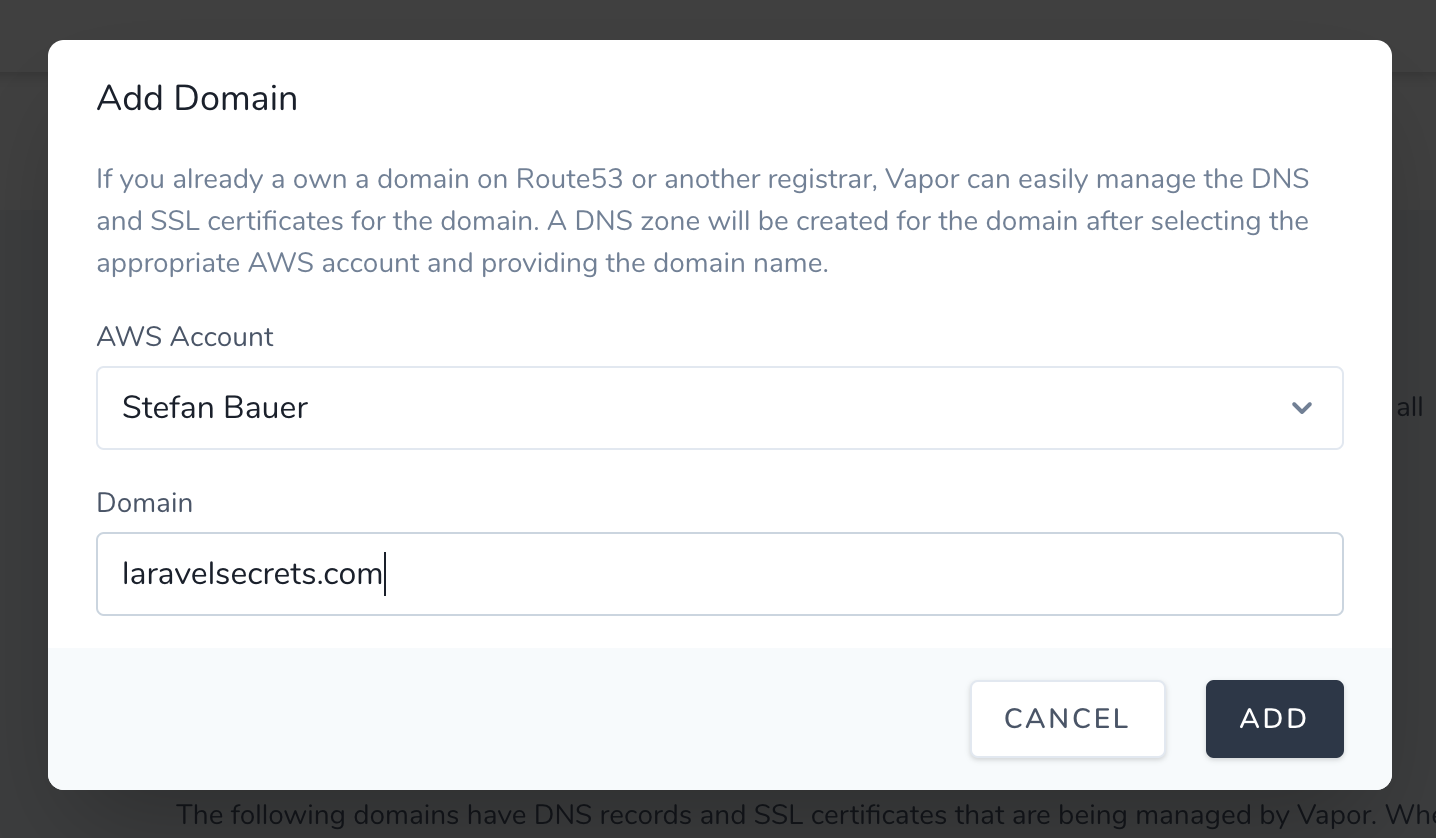
I've to mention that you can also register domains directly through Vapor. In my case that was not necessary because laravelsecrets.com was already registered. After you added the domain you see something like that:

Now you have two options (I went with the second one)
- You use Vapor's DNS settings. That means Vapor is responsible for all the DNS settings. You can add there the basic types of DNS records, like A, AAAA, CNAME, MX, etc. To get that working it's necessary to change your domain nameservers to the hostnames which are shown there.
- Or you ignore that, and you use your own nameservers. The only difference is, that you have to ensure, if you use custom domains, that you set the corresponding entries. If you choose the first option, Vapor does this automatically for you
Time for SSL
We're quite done. We just need to request a certificate for the staging.laravelsecrets.com domain. There is a Request Certificate button on the domain details page. If you click that, you can choose between different confirmation methods. Choose the one you like. It doesn't matter what you choose here. I suggest choosing DNS verification when you use Vapor DNS, otherwise go with email verification. If it's done you get the certificates you need.
Notice: What I found out: Within the UI, Vapor does only create certificates for the main domain with and without www. I couldn't find a way to create the certificate for the staging.laravelsecrets.com. Maybe I'm just silly or there is really no way at the moment. If you know a way, let me know.
To solve that problem for now, I did it via the command line.
$ vapor cert email staging.laravelsecrets.com

Certificate requested successfully for domains:

 - staging.laravelsecrets.com

You will receive a domain verification email at the following email addresses:

 - administrator@staging.laravelsecrets.com
 - hostmaster@staging.laravelsecrets.com
 - postmaster@staging.laravelsecrets.com
 - webmaster@staging.laravelsecrets.com
 - admin@staging.laravelsecrets.com

Please approve the certificate by following the directions in the verification email.
After confirming that via email now everything is done. Really!
Deploy Deploy Deploy
Time to deploy! What do you expect? Some complicated stuff? It isn't that hard. Really :) The only thing you've to do now is to type this into your project's root terminal.
$ vapor deploy staging

Building project...
==> Copying Application Files
==> Harmonizing Configuration Files
==> Setting Build Environment
==> Executing Build Commands
==> Running Command: composer install --classmap-authoritative
==> Running Command: php artisan event:cache
==> Running Command: npm install && npm run dev && rm -rf node_modules
==> Configuring Artisan
==> Removing Ignored Files
==> Processing Assets
==> Extracting Assets
==> Injecting Serverless Handlers
==> Injecting Error Pages
==> Injecting RDS SSL Certificate
==> Compressing Application


==> Uploading Deployment Artifact (12.92MB)
 12MB/12MB [============================] 100% (< 1 sec remaining)

==> Uploading Asset: css/app.css (853.68KB)
==> Uploading Asset: favicon.ico (0KB)
==> Uploading Asset: img/books-header.png (342.45KB)
==> Uploading Asset: img/favicon.png (13.46KB)
==> Uploading Asset: img/generic_summary_card.png (123.74KB)
==> Uploading Asset: img/polygon-pattern-dark.svg (10.71KB)
==> Uploading Asset: img/polygon-pattern-light.svg (4.67KB)
==> Uploading Asset: img/twitter_summary_card.png (83.24KB)
==> Uploading Asset: js/app.js (329.21KB)
==> Uploading Asset: robots.txt (0.02KB)

==> Ensuring IAM Role Exists
==> Ensuring Storage Exists
==> Ensuring Functions Exist
==> Updating Function Configurations
==> Updating Function Code
==> Ensuring Function Aliases Exist
==> Running Deployment Hooks
==> Ensuring Vanity Domain Certificate Exists
==> Ensuring Rest API Is Configured
==> Ensuring Custom Domains Exist
==> Ensuring DNS Records Exist
==> Ensuring Asset Delivery Is Configured
==> Ensuring Mail Is Configured
==> Ensuring Scheduled Tasks Are Configured
==> Ensuring Queues Are Configured
==> Updating Function Aliases To New Version

Project deployed successfully. (3m24s)

Custom domain created: Custom domains may take up to an hour to become active after provisioning.

 ============================ ==============================
  Domain                       Alias / CNAME
 ============================ ==============================
  staging.laravelsecrets.com   d1xrfj9ejcnjm.cloudfront.net
 ============================ ==============================

 =============== ======================================================
  Deployment ID   Environment URL (Copied To Clipboard)
 =============== ======================================================
  927             https://misty-reserve-ujavwp4ndvsd.vapor-farm-b1.com
 =============== ======================================================
This is a shortened version. So don't wonder if you think there is something missing. Here you can see the full UI version:
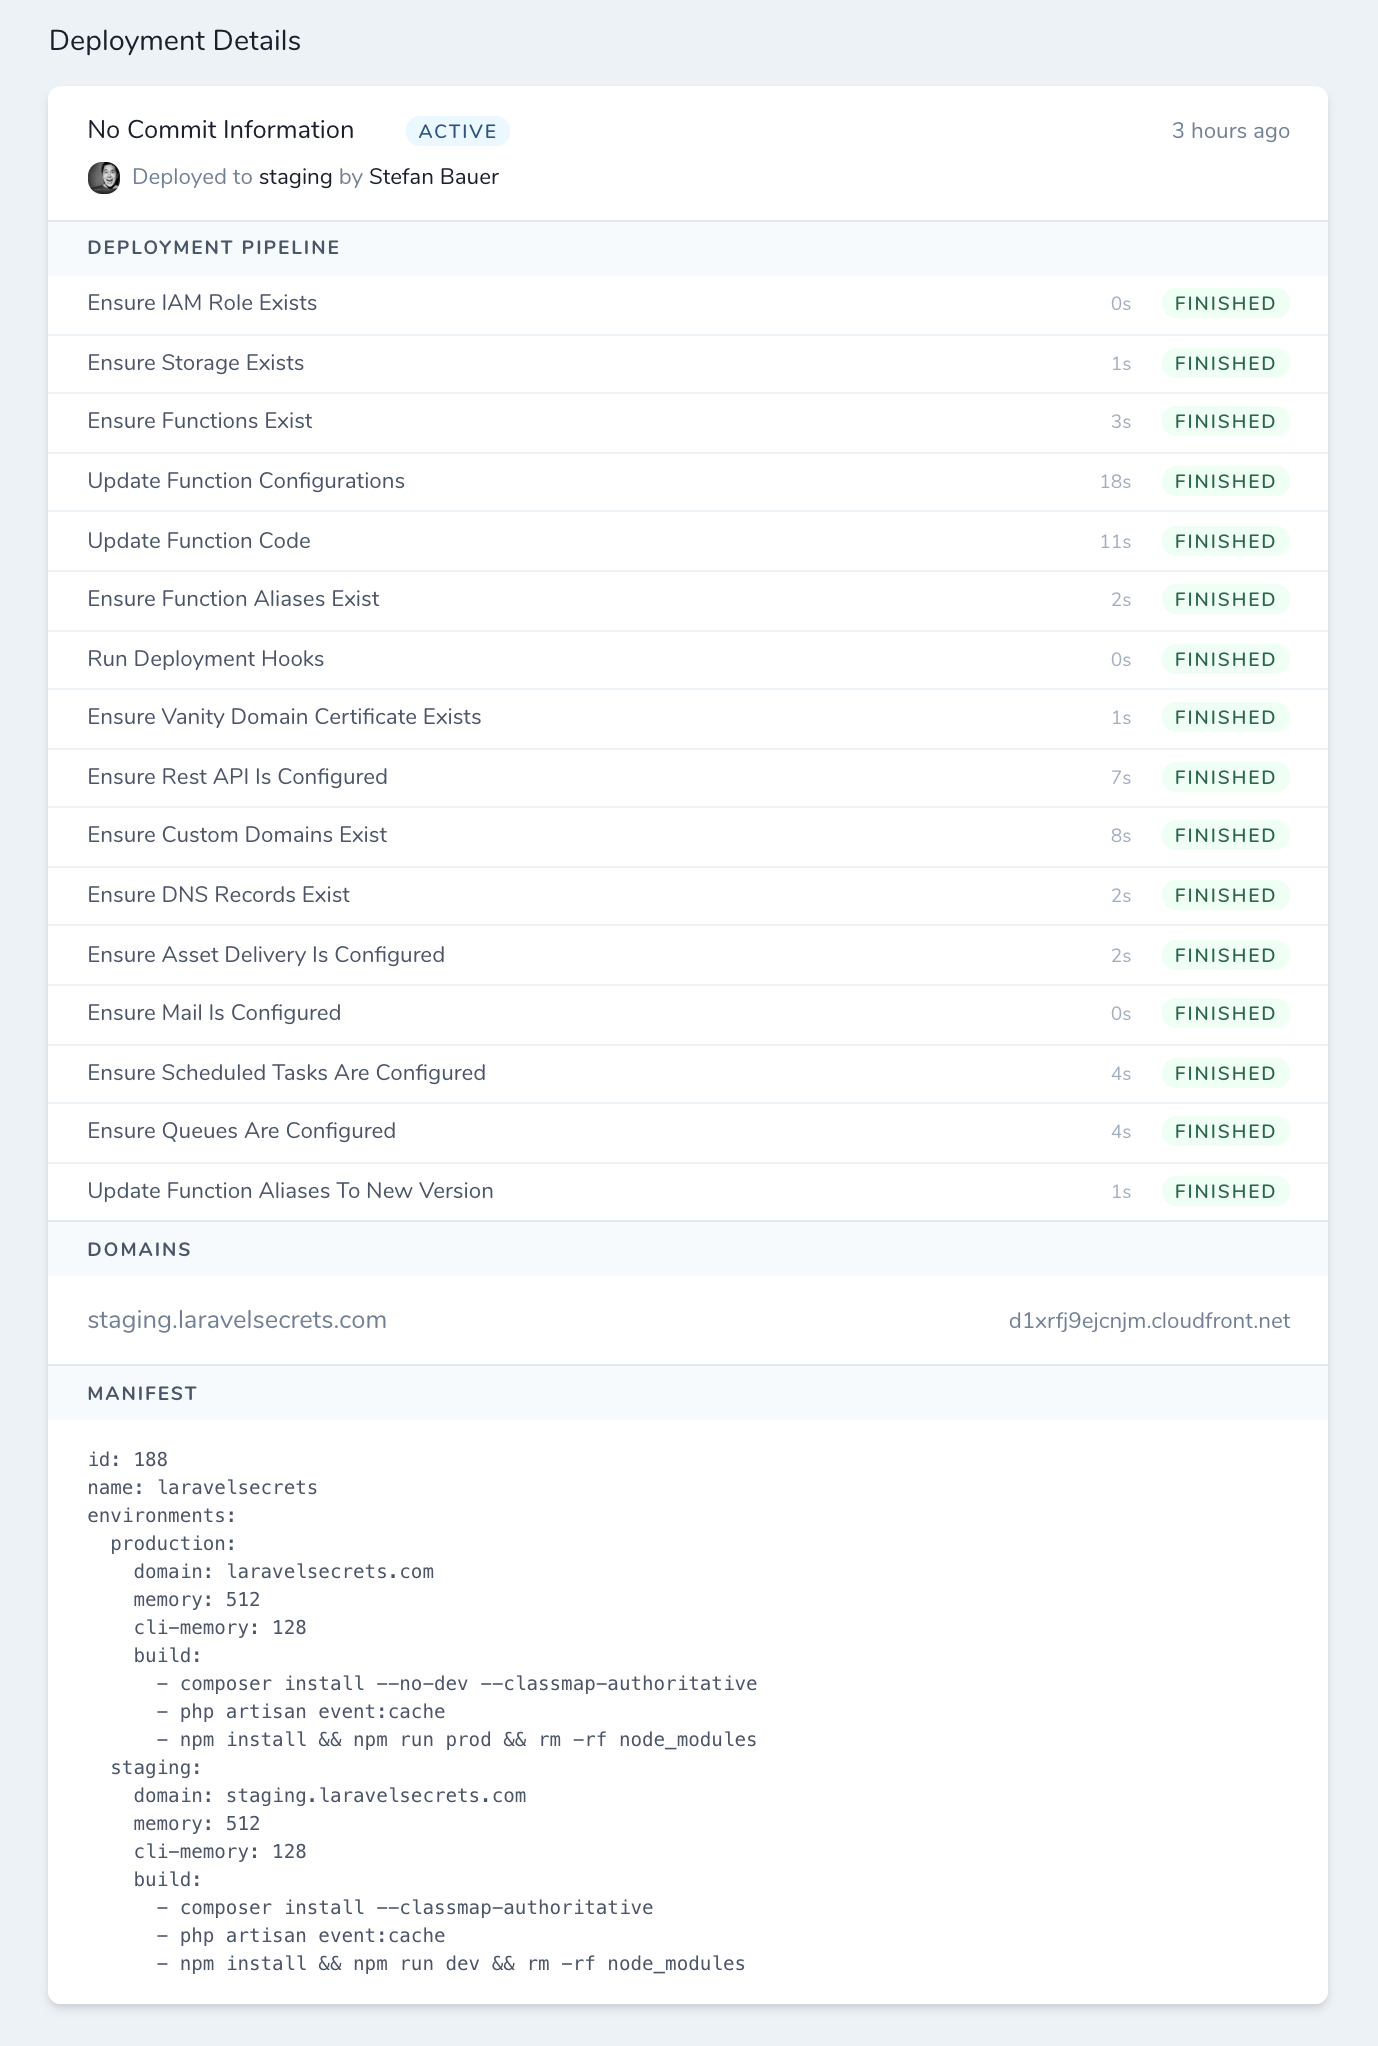
The only thing I had to do is to create a nameserver CNAME record at my registrar that points from staging.laravelsecrets.com to d1xrfj9ejcnjm.cloudfront.net. That's it. Our website was successfully deployed and everything works as expected. Really cool!
Conclusion
This was just a very small introduction into Vapor. But I just wanted to try that out and get a first impression about it. What do I think about it? Here are my thoughts:
- Taylor did an awesome job on building Vapor
- Vapor is very clean and has a great intuitive UI
- Once Vapor is configured, everything works fast and reliable.
- It's fast, it's cool and it makes fun
- Is it for everyone? Definitely no. Especially in case of costs. You have to pay Vapor, you have to pay AWS which is not much actually, but as soon as you need a database it gets expensive. At least if you only host static websites. BUT if you need something you don't have to worry about and you need a highly scalable infrastructure, Vapor is fantastic and I would suggest it to everyone. For me personally, I don't think I need it so far. I will think about if I can make use of it for PingPing.io. But I'm not sure. Maybe Taylor will give me 15 minutes to talk about it.